INSTANT DOWNLOAD
***********************
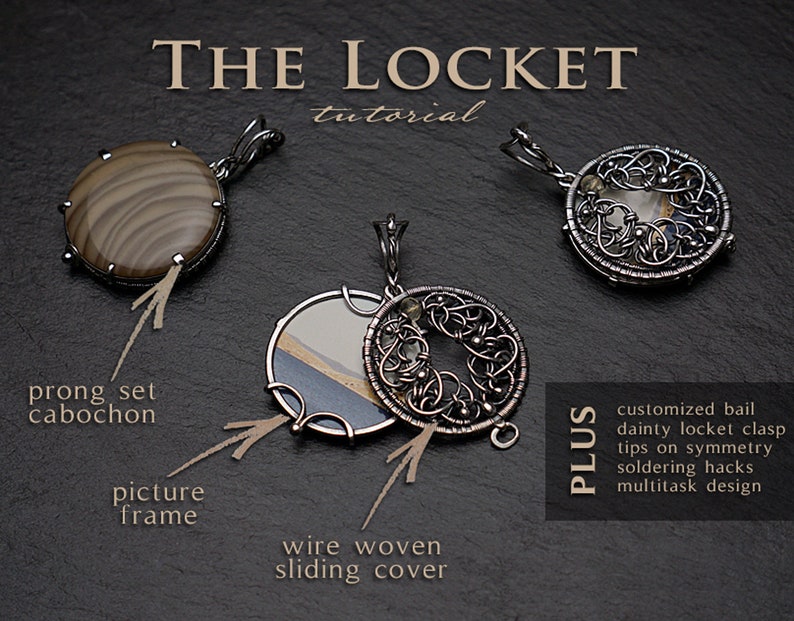
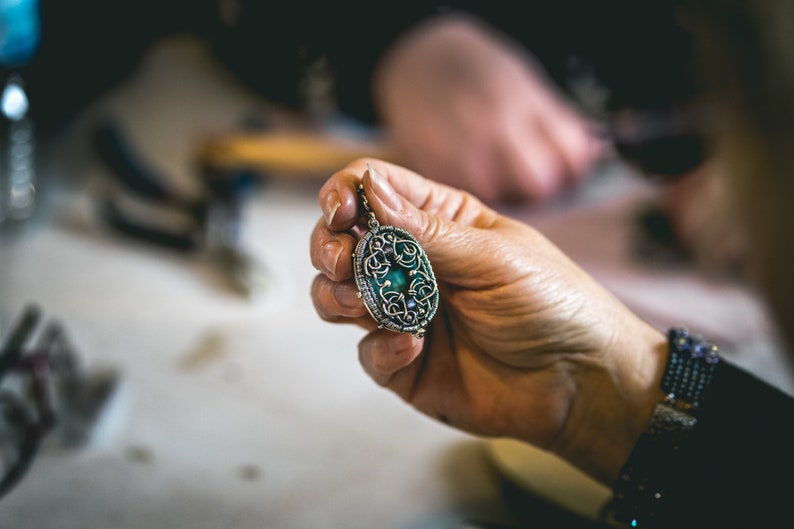
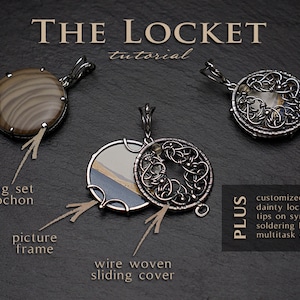
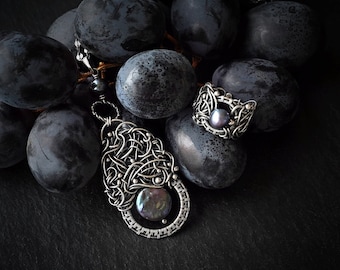
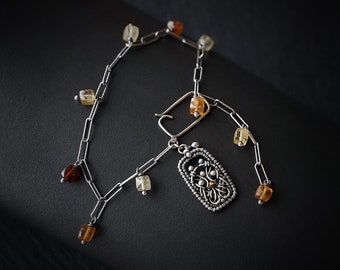
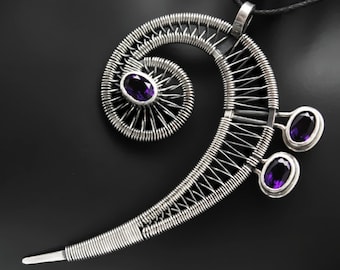
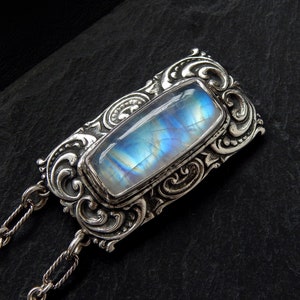
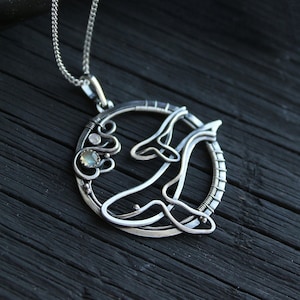
I created this piece for those of you who want to keep a picture of your loved ones, or places you feel attached to, close to your heart at all times. This double sided sliding locket contains an inner picture frame enclosed between a bezel-set cabochon and an intricate veil of a lace-like wire-layered structure with an open space gently showing the picture hidden inside.
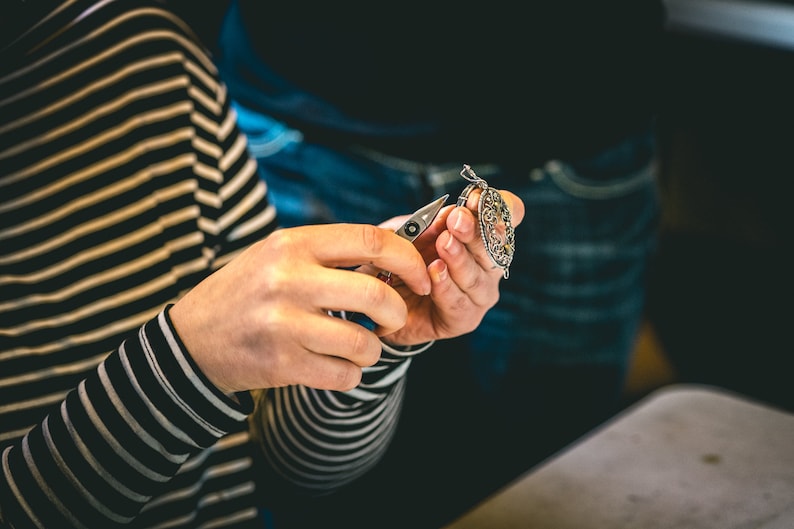
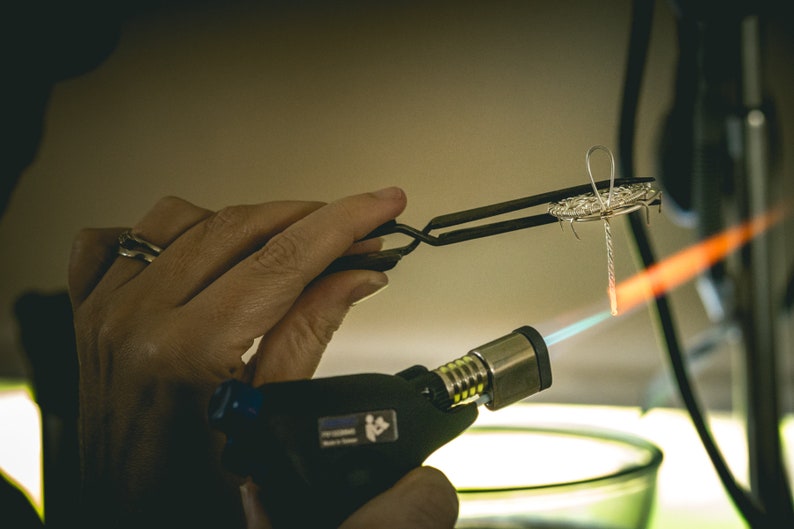
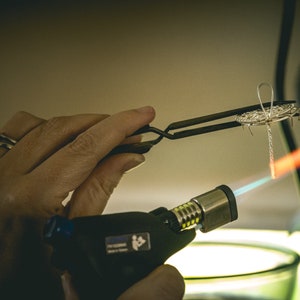
We will be using several jewelry-making techniques in this project: soldering, hammering, wire-wrapping and wire-layering. I’ll show you how to make a dainty clasp for the locket and how to join both parts with a bail designed especially for this piece.
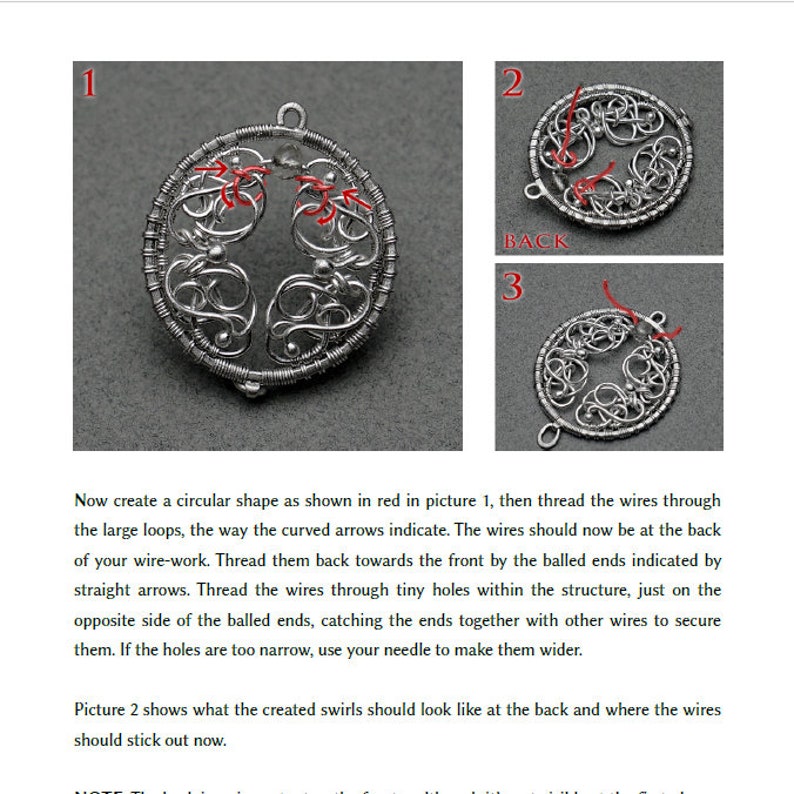
The 14,5 MB file includes 32 pages illustrated with 77 high-resolution pictures. All steps are described in detail and photos have been altered to improve the overall understanding of the techniques.
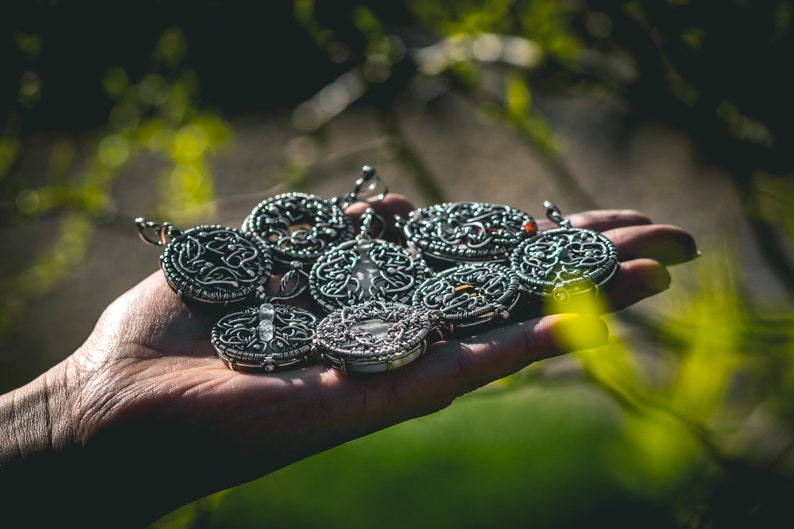
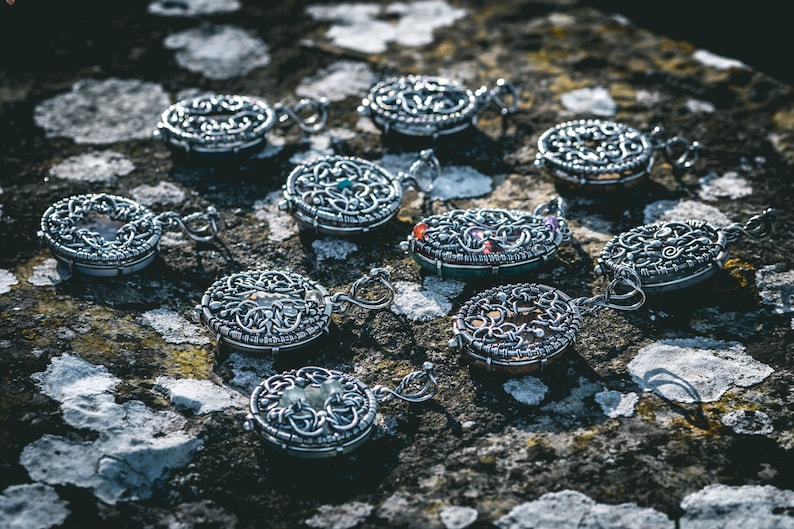
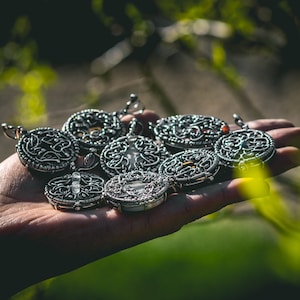
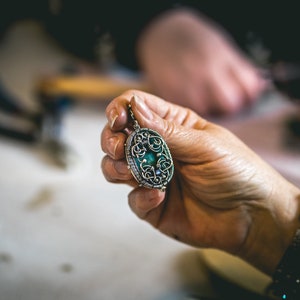
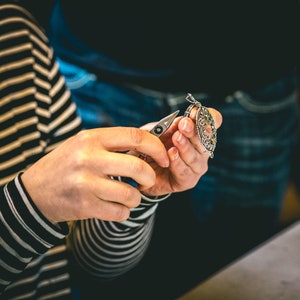
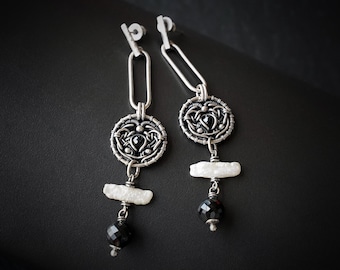
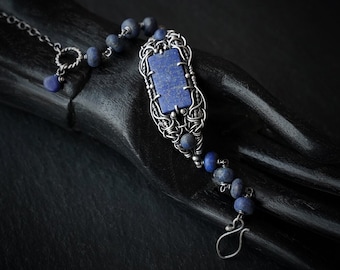
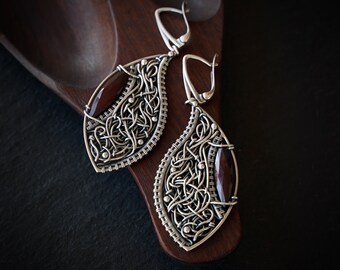
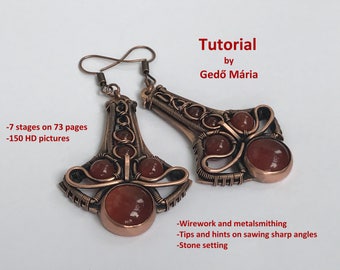
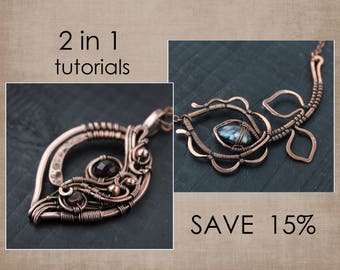
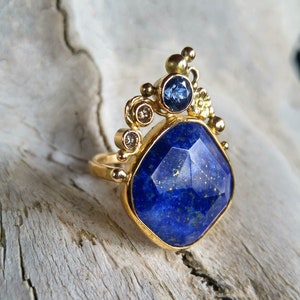
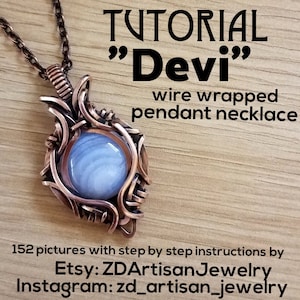
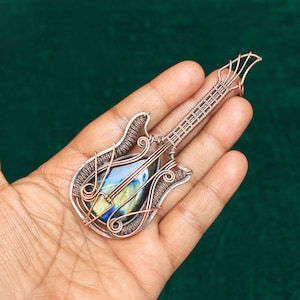
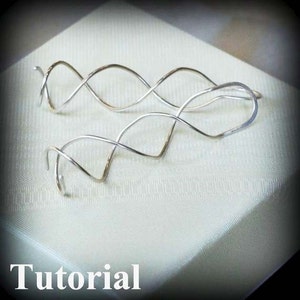
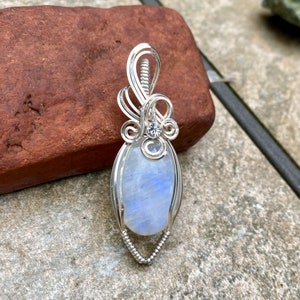
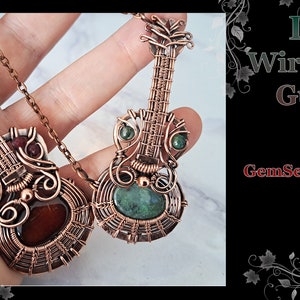
IMPORTANT! This tutorial explains in detail only the design shown in the first picture - all other pictures illustrate variations you can make using the techniques demonstrated in this lesson. They depict pieces based on this tutorial and created by my students during the 5th UK Spring Glastonbury Wire Studio Retreat.
*****
NOTE: all measurements are given in centimeters (cm).
KNOWLEGDE REQUIREMENTS FOR THIS PROJECT:
- basic soldering skills – soldering silver frames, soldering simple wire prongs, balling ends of wire.
- basic to intermediate wire-wrapping skills
TOOLS YOU WILL NEED:
- soldering equipment (torch, soldering block, flux, solder wire or paste, solder pick, tweezers, pickling solution (I use hot citric acid), bowl with water (for quenching hot metal);
- pliers (cutting, round nose, chain nose, nylon jaw);
- burnisher (I used an agate burnisher as it is gentler on the stone);
- fine files, abrasive paper, flex shaft/dremel with polishing disks;
- sewing needle;
- hammer and bench block;
- round mandrel-like objects for wire shaping;
- ruler and marker;
- a piece of firm paper to make the picture cutting stencil, scissors;
- OPTIONAL: Liver of sulfur or other oxidising agent, polishing pad, tumbler with mixed stainless steel shot.
MATERIALS PER ONE PENDANT:
- a cabochon of your choice, preferably in a round or oval shape, flat - not thick (to maintain the weight balance of both parts of the locket), I used a round cab of Polish striped flint with a diameter of 32mm;
- a gemstone rondelle about 5mm large with a hole accommodating a 0,7mm wire;
- sterling silver tube for the clasp – about 2mm long with a hole of about 1mm;
- three sterling silver jump-rings for the bail and the clasp, made of 0,7-0,8mm wire and measuring about 5mm in outer diameter (I used round ones and an oval one);
- 22cm of 1,5mm sterling silver wire (for the frames – adjust for your cab size);
- 40cm of 1,0mm fine silver wire (24cm for the prongs, 11cm for the bail);
- 30cm of 0,9mm fine silver wire (for the layering);
- 55cm of 0,8mm fine silver wire (for the layering);
- 10cm of 0,7mm fine silver wire (for the layering);
- 100cm of 0,4mm fine silver wire (for the wrapping);
- OPTIONAL: cord or chain to go with the locket (might be helpful to determine the perfect size of the bail).
NOTE: The amounts of wire may vary depending on your wrapping skills and your design ideas when it comes to the size and density of wire-layered structures - you may expand them adding more wire.
*****
If you have any questions concerning this tutorial, please, do not hesitate to contact me.
*****
PLEASE, give credit when making jewellery using the techniques you’ve learned via this lesson – it’s always nice to see your work appreciated by fellow artisans :)
Also, please, do not mass produce jewellery based on this design.
Do not share, copy, multiply or distribute this tutorial and/or any of its parts as this would constitute copyright infringement.